MiniDisc Appreciation and Hacks
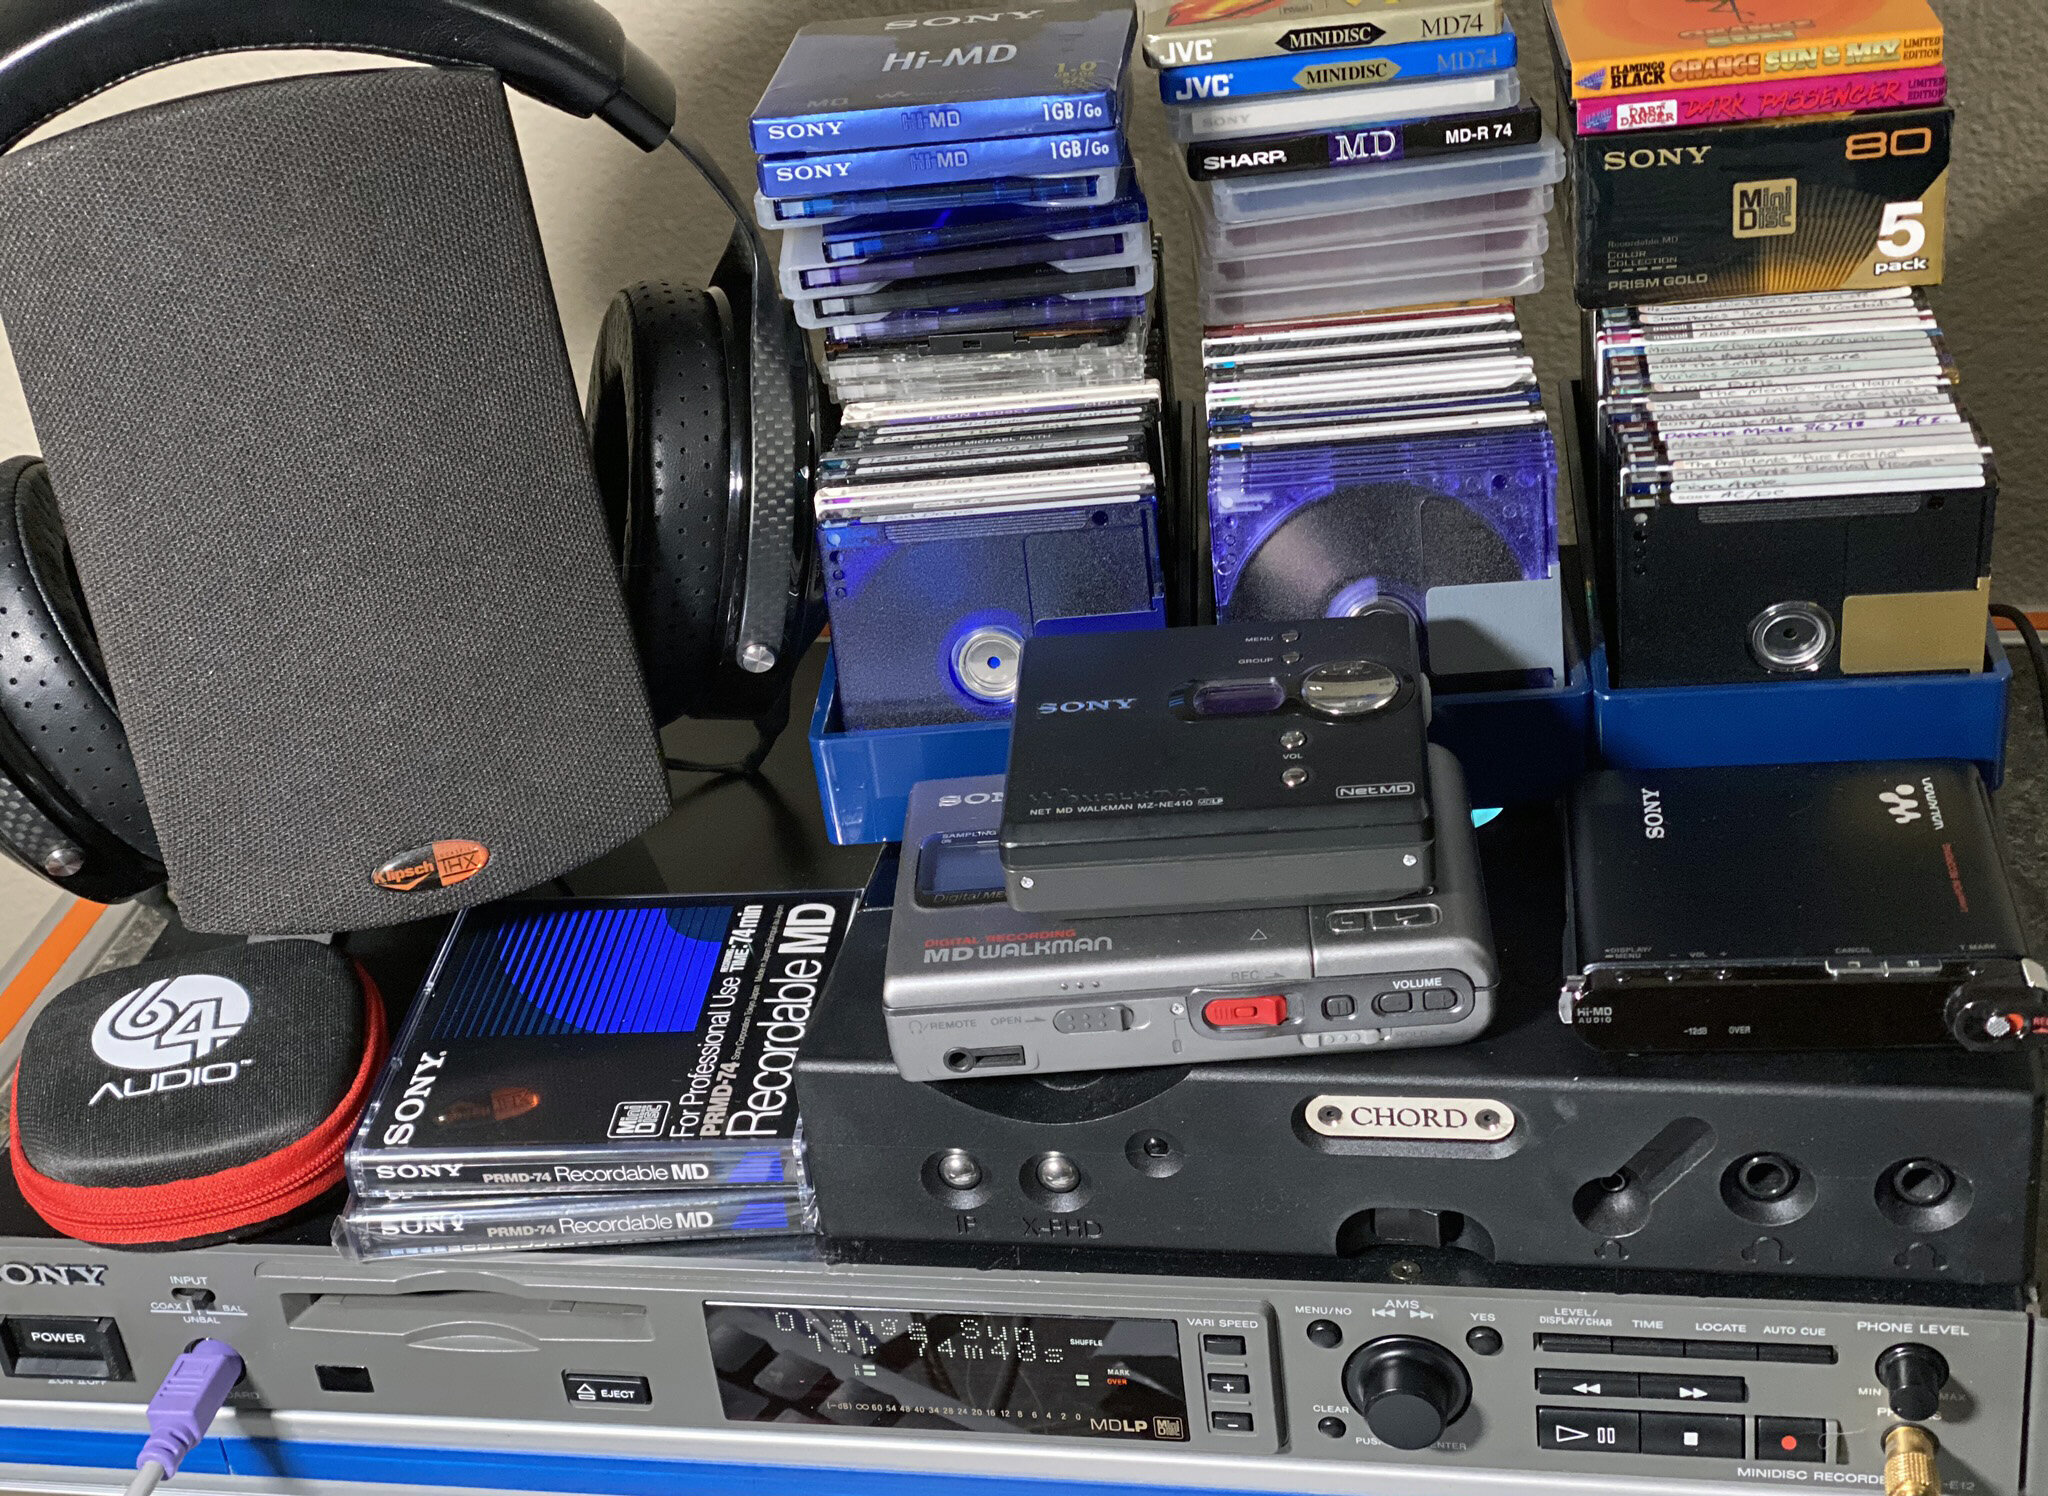
Sony’s MiniDisc format has been a love affair since it first came out in the 90s. I purchased one as soon as I could afford it at a shop called Dixons close to where I lived in rural England. Since that first enthusiastic purchase, I’ve collected a few other player/recorders over the years and a healthy collection of discs.
Back in the day, using Sony’s SonicStage software to manage my collection was a pain. It was slow at the get go, and became increasingly choppy as tracks grew into the thousands. Rights management restrictions, imposed to stop folks from pirating perfect digital copies, were a nuisance. Yet, I loved that first MiniDisc player and the amazing little discs that slotted into it.
Two and a half decades later, I’ve added a few more MiniDisc devices and a lot more discs in my collection. My favorite is the Sony MZ-RH1, the last MiniDisc player/recorder Sony ever produced. It is sleek and sexy, sounds amazing, can record 34 hours of music onto a single disc, and is as much a work of art as a piece of electromechanical and electro-optical engineering can achieve.
Unfortunately, Sony doesn’t make the lithium ion batteries for this masterpiece anymore, and the one I have, which arrived with it packed in the box, no longer accepts a charge. A quick search on eBay brings up a few new “old stock” batteries to buy, but folks want $150+.
I needed a solution that didn’t induce sticker-shock…

Long time love affair with these MiniDisc’s
I found an excellent article from someone who carefully took apart their old Sony LIP-4WM and replaced the worn out battery with the best approximation version of the original they could find. The hack looked a little too thick to easily slide into the MZ-RH1, and I believe retaining both the original and the new cell’s charge protection circuit is not optimal. Also, I would need an original LIP-4WM to take apart but I only have the one and I’m not onboard with cannibalizing it.

ION gonna lie, I was super bummed out when this battery finally died

MiniDisc holy grail
I decided to order the same bare naked Li-ion cell and set about designing a new battery module around it. My goals were:
Add nothing to the thickness of the bare cell
Don’t double up the charge protection circuitry
Don’t sacrifice a LIP-4WM for each new battery made
Design so anybody with basic tools and access to a 3D printer can make their own
The new battery works great, it slides in and out of the device easily, and a single charge lasts for around 10 hours of play, which is just shy of the original Sony when it was new.
Want to Make Your own LIP-4WM Replacement Battery?
Here’s what you need:

This SIM-4WM.stl file for 3D printing
(click image to get it)

This 350mAh Lithium Polymer battery via eBay
(click image to get it)
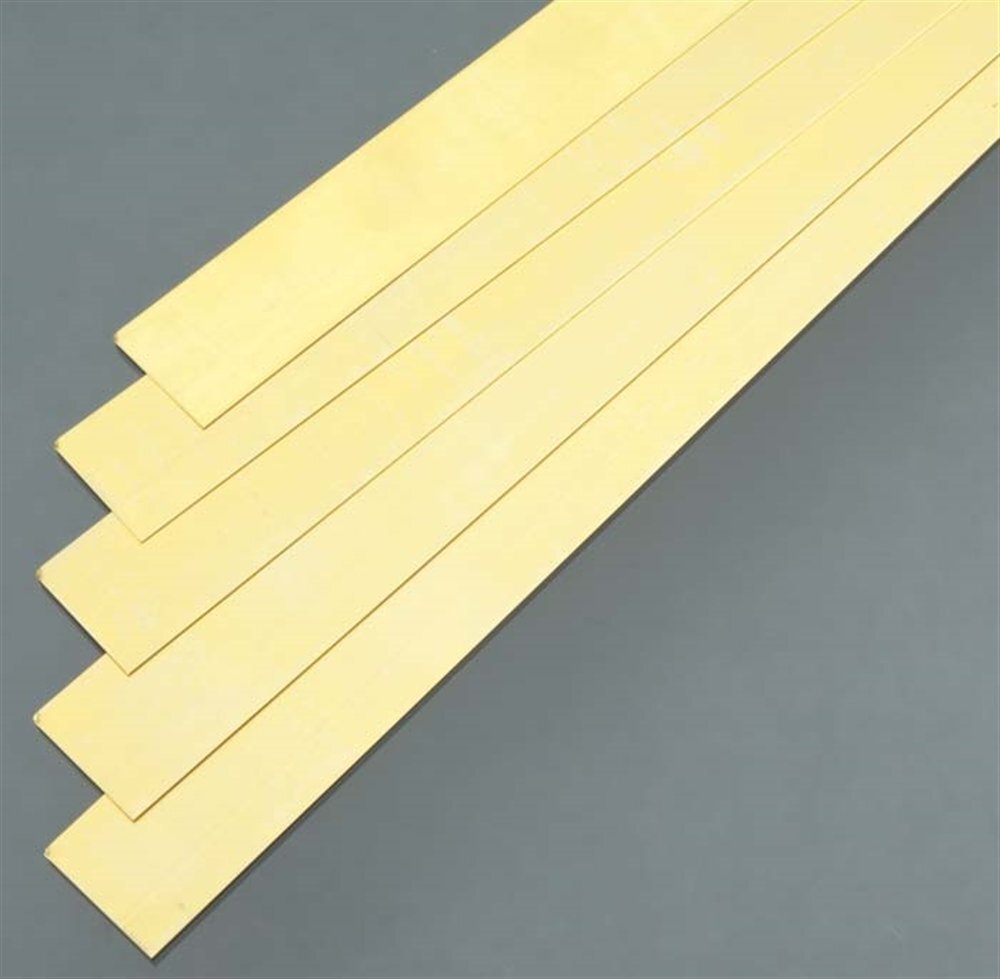
This 1/8” Brass Strip via Amazon
(click image to get it)
In addition to these essentials, you’ll also need some cutting pliers to cut the brass strip, needle nose pliers to bend the brass strip, a soldering iron, and glue to affix the brass contacts and hold the Li-ion cell in the 3D printed frame.
Putting it together
Print the SIM-4WM.stl file. I’m using an Ultimaker and it turns out great in PLA and ToughPLA at 0.15 mm layer height. I’m sure other layer heights would work just fine too.
Cut two 6.5 mm lengths off the brass strip.
Hold the piece of brass in your needle nose pliers with 2.5mm sticking out, then press it against something hard to bend it at a right angle.


Poke the wires from the Li-ion battery cell through the two holes in the printed part. Red wire corresponding to the little ‘+’ printed into the part and black going to the ‘-’ symbol.
Cut the wires so there is 5 mm to 10 mm poking out the end of the printed part and strip a millimeter or two of insulation from the ends.
Tin the ends of the wires with solder and the underside of the brass right angles, and then solder the ends of the wire to each of the brass pieces.


Apply glue to the printed plastic where the brass contacts will sit, and press each of the contacts into place. I used a UV cure adhesive but epoxy or superglue should work too.
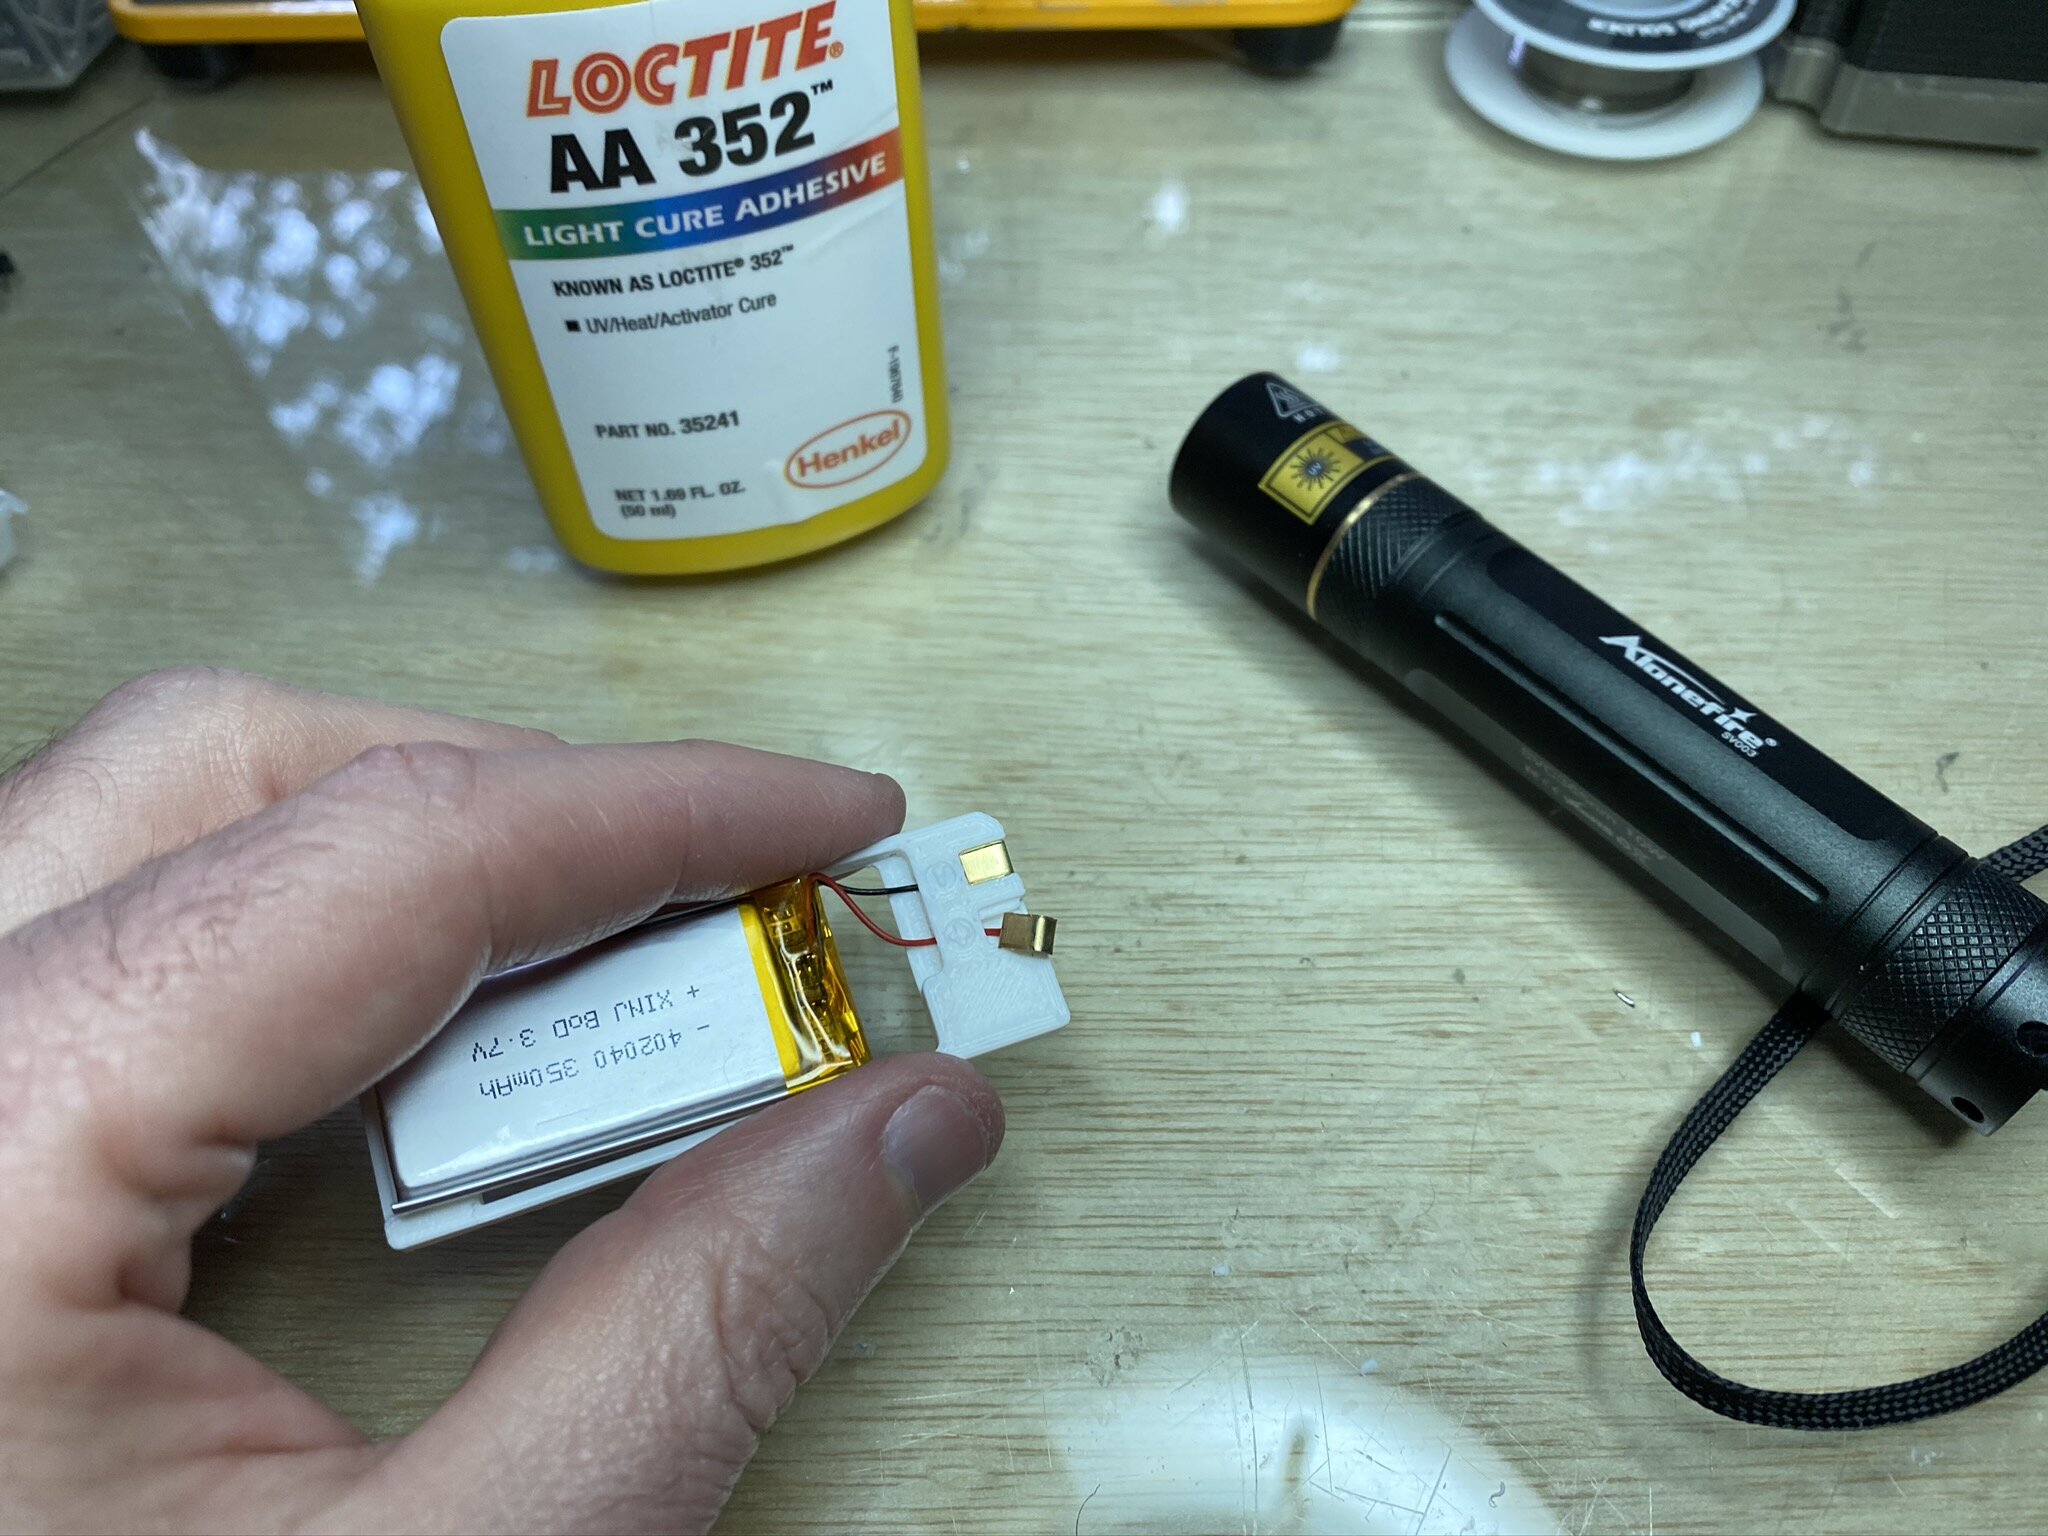

Apply glue to hold the wires in place inside the frame and all down the inside edges of the frame where the cell fits inside its walls. Again I used a UV cure adhesive, but epoxy or superglue should work well too.

And there you have it! A working replacement battery and years more pleasure listening to this delightful MiniDisc player.
